Easy Entryway Makeover
This project was so easy, I wish I had done this a long time ago.
I’ve wanted to add board and batten to my small entryway for a while now. Once I got started, It was so much easier than I thought. See my list of steps and materials below.


Board and Batten Steps:
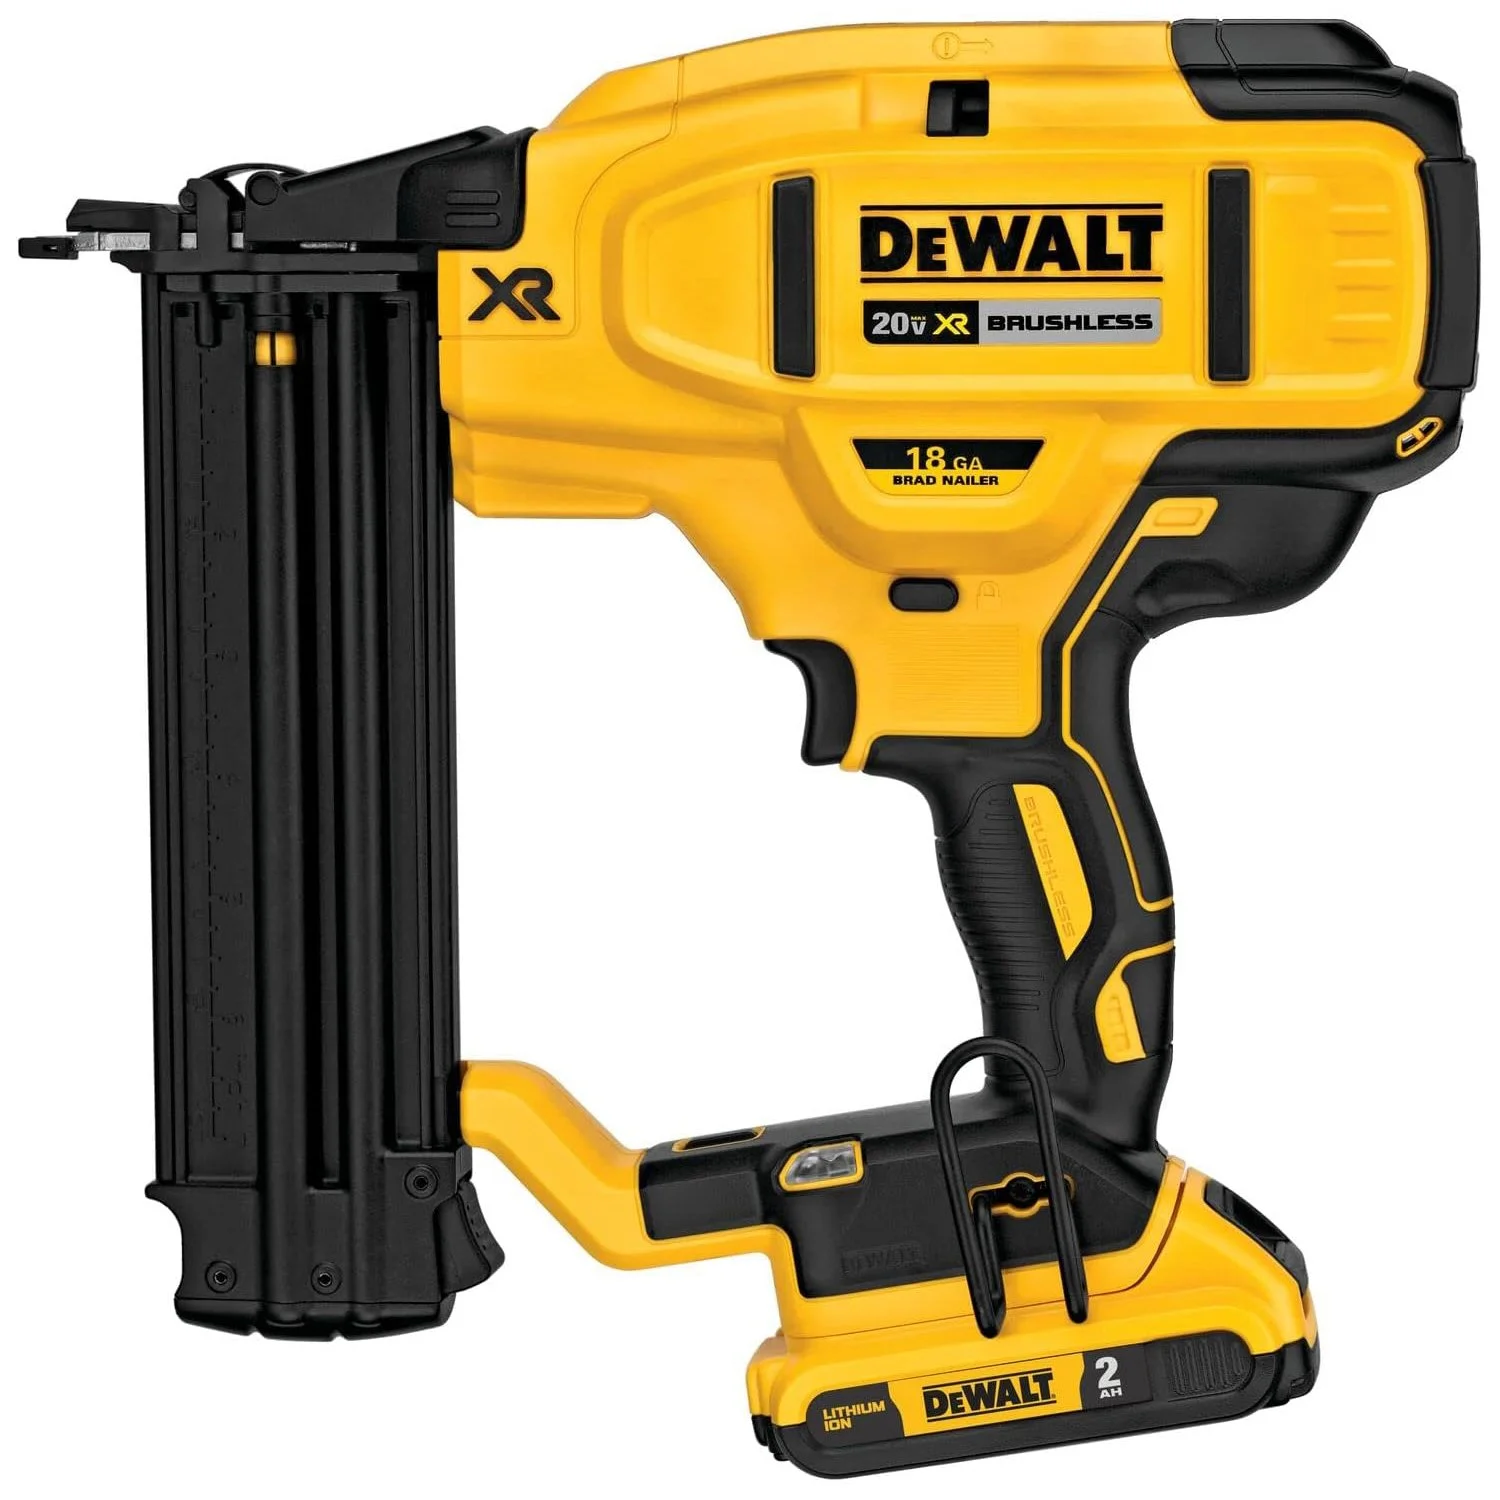
To begin, I installed a baseboard above the existing trim to serve as the foundation for my board and batten. I used 1/2-in x 2-1/4-in MDF for everything except the top board (which is 1” wider). I used my miter saw to cut the boards and a brad nailer to secure them to the wall.
Next, I measured 62” for my battens (this could be any height you like but 2/3 of your total wall height looks nice) and added my top board above that. Make sure the top board is level as it affects the vertical battens underneath.
After that, it was time to cut my battens. I cut them all at 62 inches. I decided to space them 16 inches apart (14-24 in spacing is standard). Once cut, I nailed them up with my brad nailer.
Then, I measured and cut my ledge and added it above the top board.
Next, I filled the nail holes with nail filler and caulked the seams and sides of each board.
After that, I painted my board and batten the same as my walls (Rare and Radiant HTGV home by Sherwin Williams).
Next, I added my wood pegs on the top board. You can place the wood pegs on the top board or the batten boards near the top.
Lastly, I decided to top off the wall above the board and batten with this beautiful storyline wallpaper.
Materials I used:
(7x) 2-1/4-in x 7-ft 6-in Primed MDF Boards for baseboard, battens and ledge.
(1x) 3-1/4 Primed MDF Boards for top board
Miter Saw (I get so much use out of this saw)


This content may contain affiliate links. I earn a small amount from each purchase.
Follow my journey.
@home.with.kate