Eat In Kitchen Makeover
Over the past few weeks, I've transformed my eat-in kitchen area into a more inviting and functional space. See the before and after images below, along with a simple guide that outlines each step I took to achieve the look, from choosing the wallpaper to adding finishing touches that truly bring the space to life.
I don’t usually work with wallpaper, but this one was so easy to use. When I messed up, I could pull the wallpaper off and completely readjust it. See other wallpaper options I love below.
I often decorate my space with functional items, like this peg rack with cutting boards. It saves me much-needed cabinet space, and I love how it looks.
Create the Look
Step 1: Paint
I wanted to start my project with a clean slate so I decided to start off by painting the walls a clean white color. The color I chose is Rare and Radiant in eggshell from HGTV HOME by Sherwin-Williams. You can skip this step since the wallpaper and shiplap will cover the walls anyhow.
Step 2:
Baseboard and Middle Board
Baseboard: First I attached a 1x2.25” mdf board directly above (and parallel with) my baseboard trim. I used my miter saw to cut the boards and a brad nailer to secure them to the wall.
Middlbeboard: Next, determine how high up you want your shiplap to be. I wanted mine to be halfway up the wall. That means I needed to measure and mark 48” of space between the baseboard and middleboard. Mark 48″ up from the top of the mdf baseboard on each side of the wall. Then, cut a 1x2.25” mdf board to the length of your wall and install it directly above those marks with a brad nailer.
Step 3:
Shiplap Boards
The shiplap boards from Lowe's are extremely easy to install. Each piece has interlocking edges and self-spacing features to ensure consistent gaps between the boards. Each board is 8’, so I needed to cut them in half with my miter saw to make them each 4’ (48”) tall. After cutting the boards, I positioned them and used a brad nailer to secure them with 2-inch brad nails. I added a piece of trim at the top to conceal any inconsistencies in my board cutting and finished it with a coat of white paint for a clean look.
Step 4:
Peel & Stick Wallpaper
This was my first experience with peel-and-stick wallpaper, and I was pleasantly surprised by how straightforward the process turned out to be. The wallpaper I chose from NuWallpaper was user-friendly, allowing me to peel it off and reposition it effortlessly whenever I needed to make adjustments. It truly exceeded my expectations and transformed my space with ease.
Step 5: Pendant Light
I wanted to complete this look with a stunning pendant light that would serve as a focal point in the room. When I saw this light from Anthropologie, I knew it was perfect for my space. This light adds a welcoming warmth to the space that enhances the overall ambiance. Its soft glow casts beautiful shadows and highlights the decor, creating a cozy and inviting atmosphere.
Step 6:
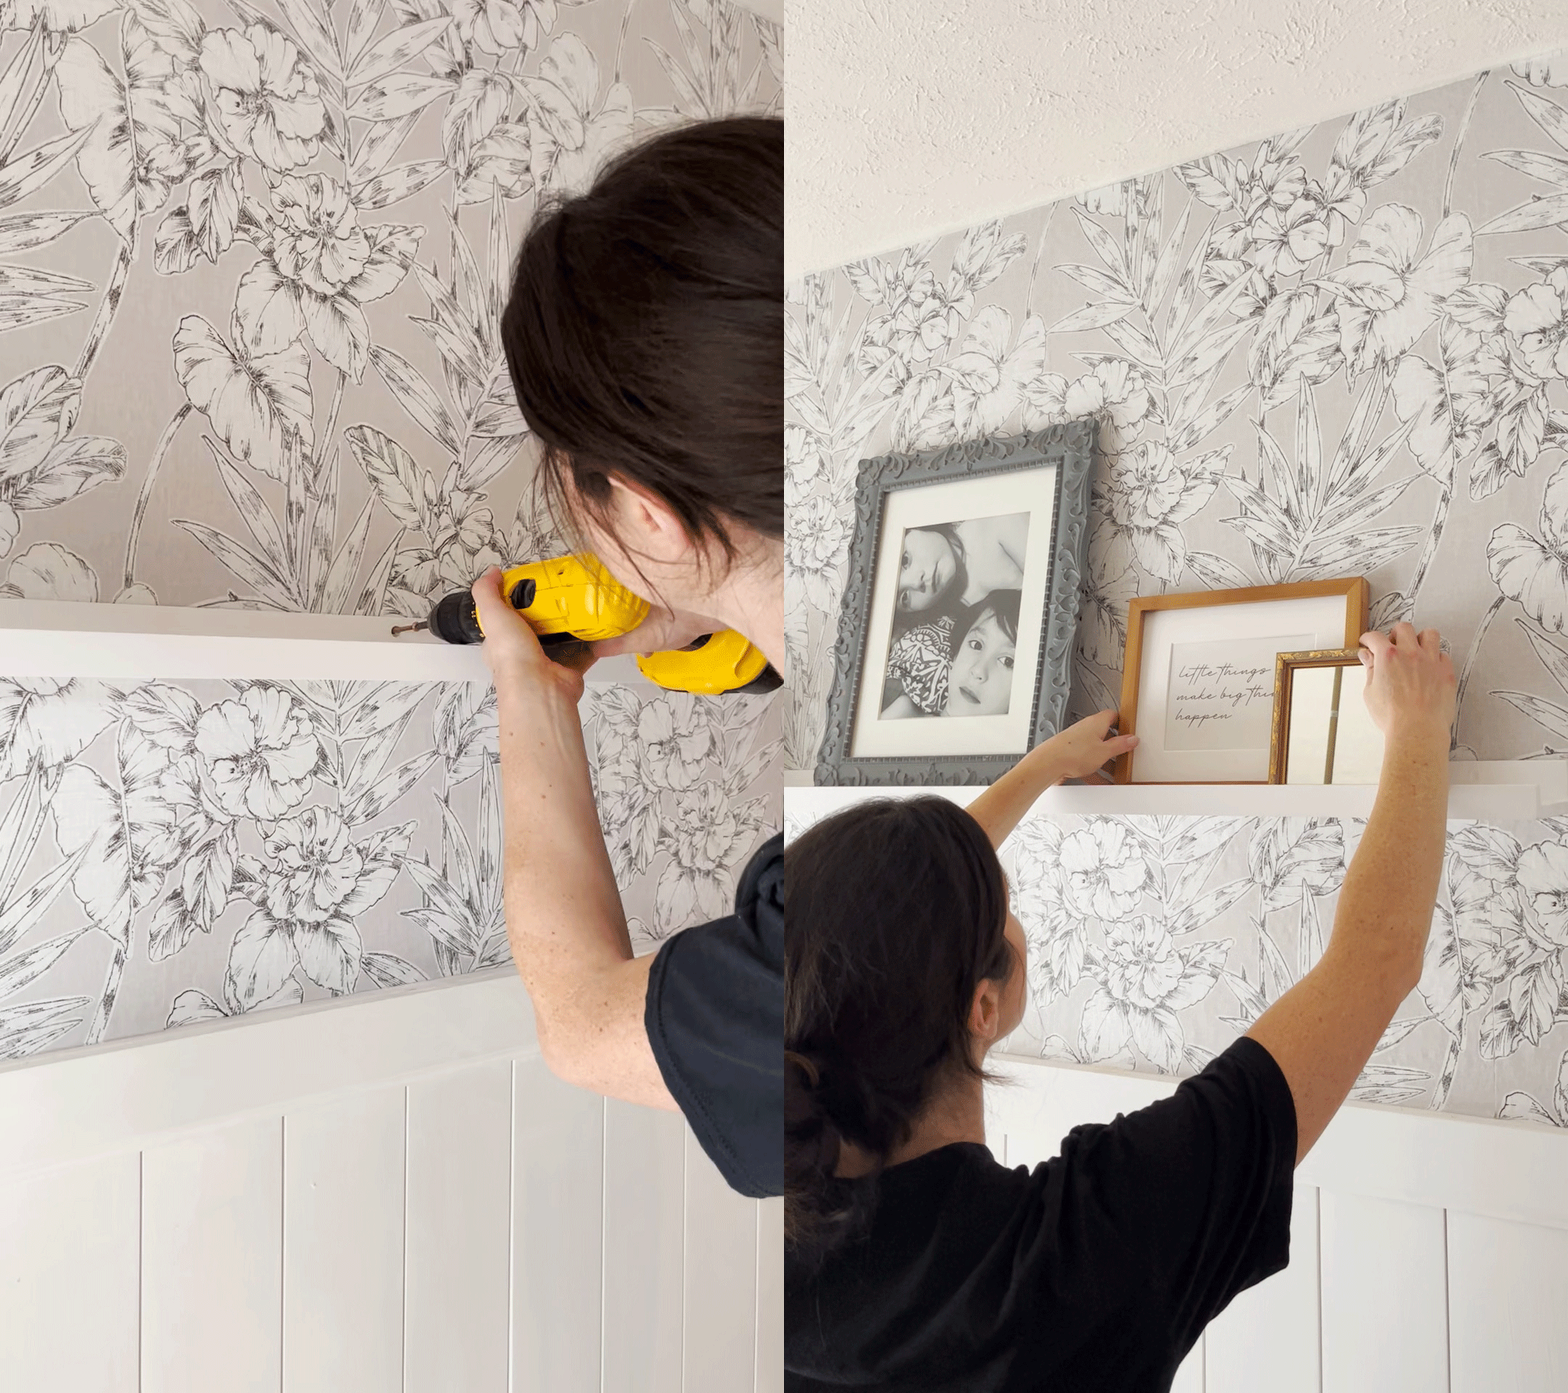
Ledge Shelf
Instead of going for a traditional wall of framed pictures, I chose a versatile ledge shelf that allows me to easily change the artwork and decor whenever I want. This way, I can showcase my favorite pieces and update them when I feel like it. I love the idea of adding small pots of herbs or displaying a few cookbooks on my shelf.
Step 7: Wooden Peg Rack
I love using kitchen wall space to hang cutting boards. I found this wooden peg rack on Amazon and painted it white to match my shelf and shiplap wall.
Shop the Look
If you like this easy and affordable makeover, try it for yourself. Completing this project myself was not nearly as hard as I thought. Shop the items I used for this project below.
This content may contain affiliate links. I earn a small amount from each purchase.


